
Introduction:
Today I wanted to quickly detail how you can add the ScyllaHide plugin into your x32/64dbg tools. ScyllaHide is an open source plugin that can help to hide your debugger from common anti-debugging techniques that a lot of malware leverage.
Downloading the latest ScyllaHide 7zip file:
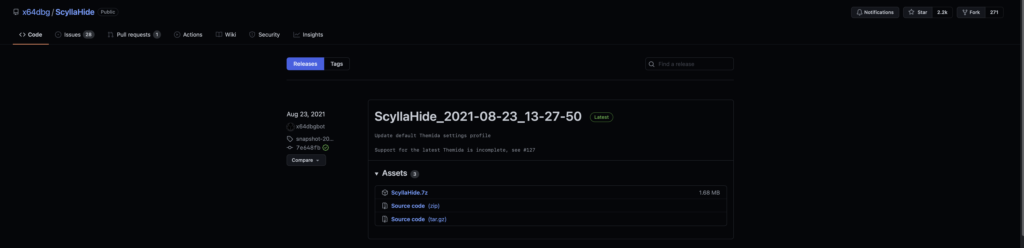
You can download the latest release of ScyllaHide here. You can download the source code if you prefer however, it is easiest if you download the 7zip file.
Extracting the ScyllaHide files:
After downloading the files, extract them to the Desktop or whatever location you prefer. 7zip can extract all of the contents of the 7zip file to a parent folder in that location and that is the option I like to go with: 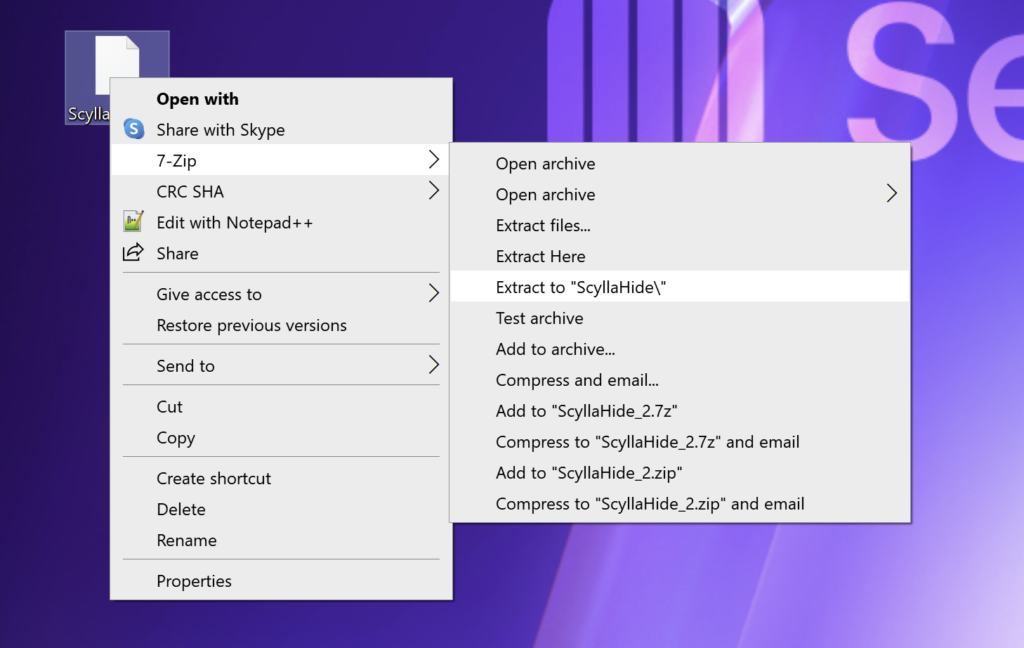
Finding the Plugin in Files:
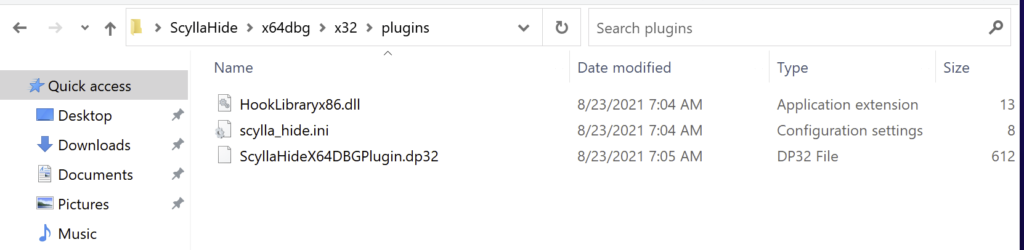
The next step is to find the appropriate files that need to be moved into both x32 and x64dbg plugins folder.
ScyllaHide_folder –> x64dbg–> x32 or x64 (depending on which version of plugin files you are looking for) –> Plugins
Finding x32/64dbg Plugin Folder Location:
The easiest way to find out you x32/64dbg plugin in folder path is by:
Open x32/64dbg –> Options –> Import setting
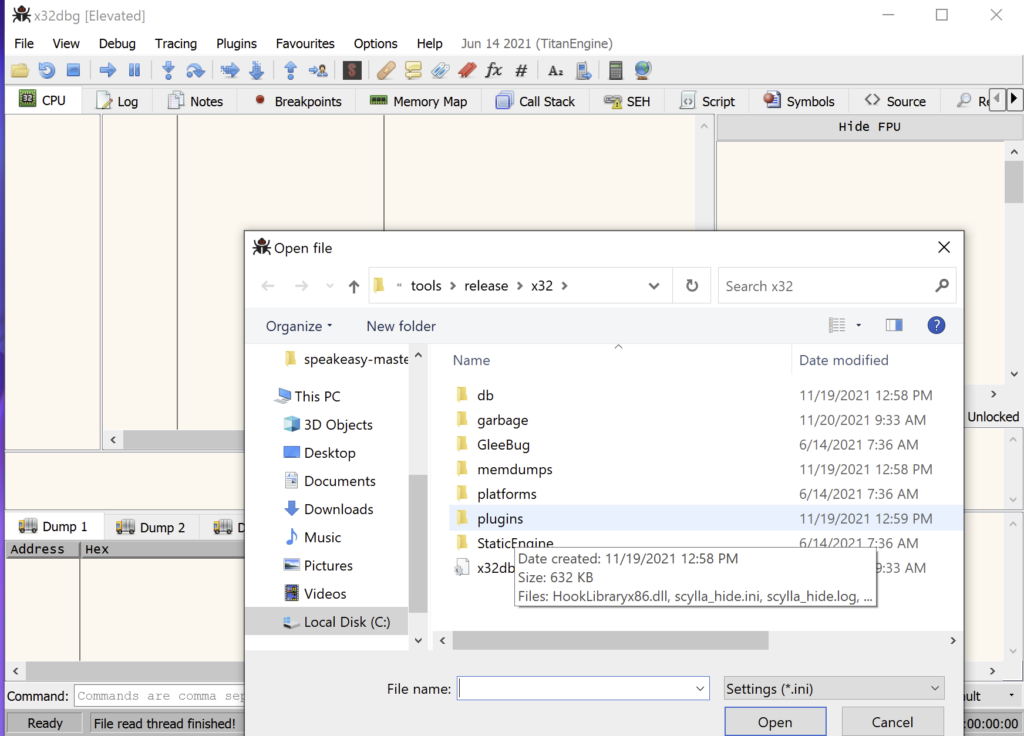
From here, double click the plugins folder then at the top you can click into the file path and copy the file path to your clipboard:

Moving ScyllaHide Files to x32/64dbg Plugin Folder:
Now that we have copied the file path to our x32/64dbg plugin folder we can open up our SyllaHide folder on our desktop. Using the same file path as before:
ScyllaHide_folder –> x64dbg–> x32 or x64 (depending on which version of plugin files you are looking for) –> Plugins
You should now be here: 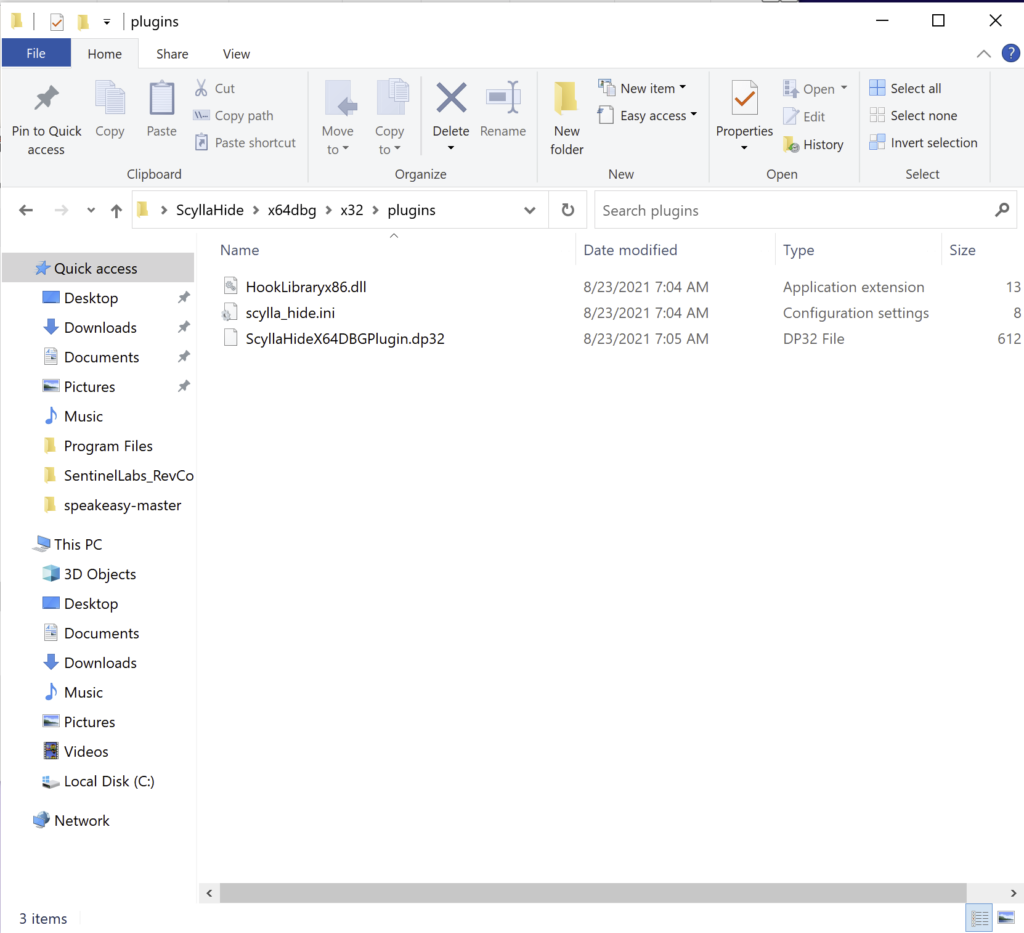
Highlight all three files and then click Move To button in the tool bar above:
Move To –> Choose location...
Once you have clicked on Choose location... paste in the file path to our x32/64dbg plugin file location we grabbed in the last section: 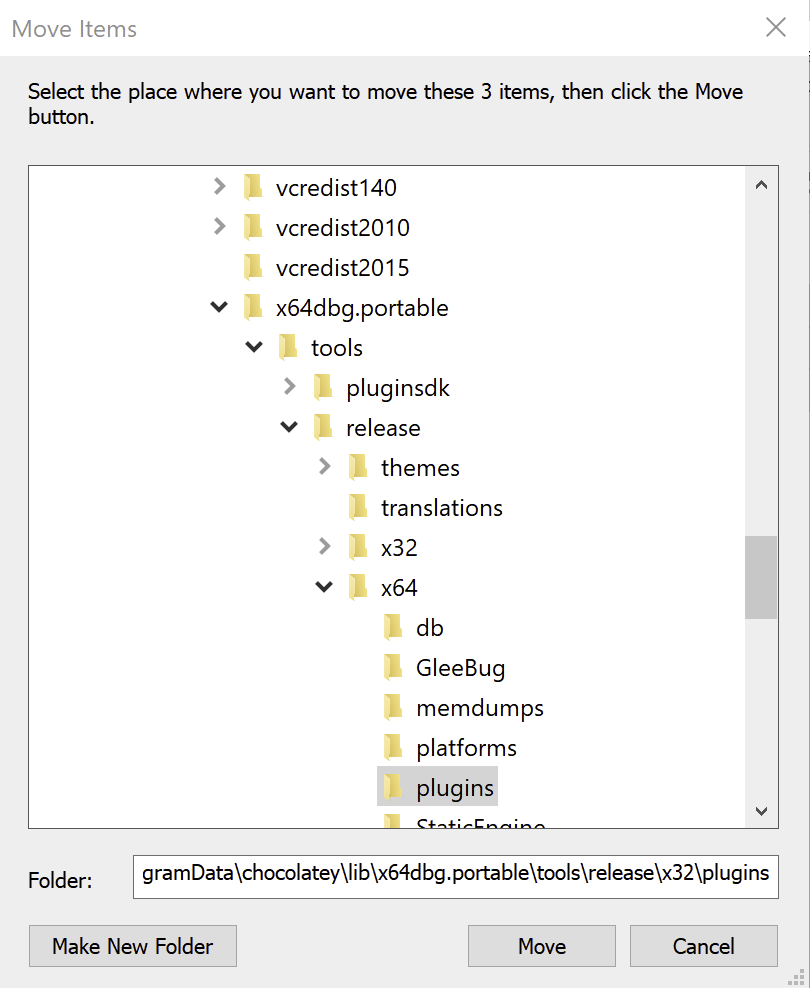
Lastly, click move and Windows will then move those files into the plugins folder. It’s important to note that you need all three files move into the plugins folder.
In our particular case we started with x32dbg first, you need to complete the same steps for x64dbg to have ScyllaHide plugin added to your x64dbg debugger as well.
Checking to See if Plugin Install Successfully:
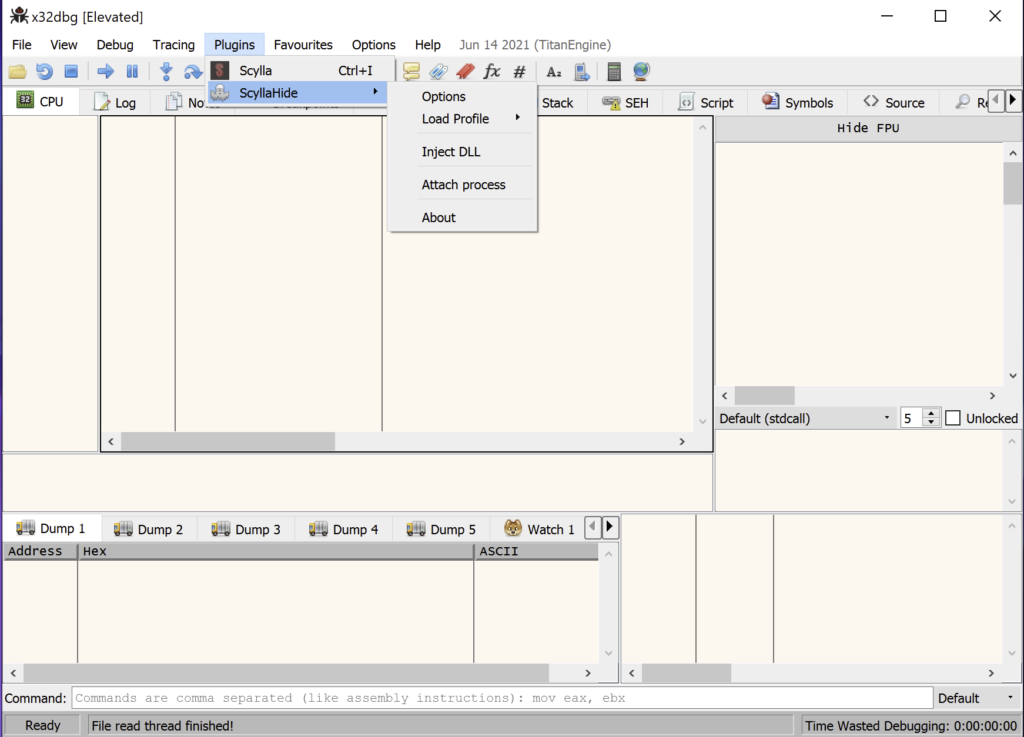
To check to see if the plugin was installed successfully all we have to do is open up x32 or x64dbg. In the tool bar you should see a Plugins tab. When you click that, you should now see ScyllaHide as one of the plugins.
Final Thoughts:
ScyllaHide is an extremely useful module for bypassing Anti-debugging techniques leveraged by malware today. It’s great to implement when you want to focus on what the malware is doing vs trying to defeat all of the various anti-debugging techniques that might be present.
Hopefully you found this post helpful in some way. If you have any questions, comments or just want to chat you can find me on Twitter.